A grow light is most useful when it solves a clear problem: a plant is receiving too little dependable daylight in its winter position. Start there rather than treating a lamp as an accessory every shelf needs. Look at the species, the available window light, and the space you can safely illuminate. A small fixture may support a compact group while leaving the edges of a broad shelf much dimmer. The arrangement and timing matter as much as the appearance of the light. Plan a setup you can keep consistent through ordinary daily life, with room to water, inspect leaves, and adjust the fixture as plants grow toward it.
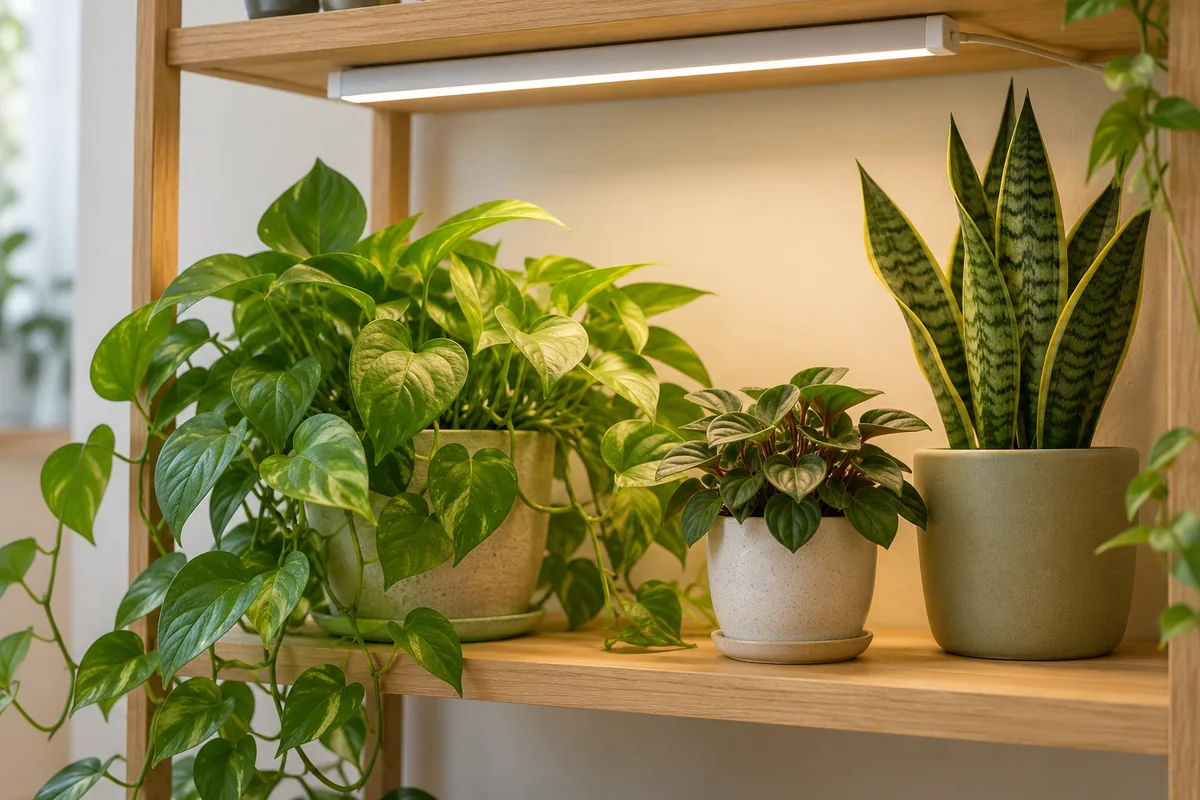
Read the fixture instructions before choosing its position. Mounting distance, coverage, ventilation, and the recommended use all depend on the equipment. Avoid adopting one universal distance for every lamp because fixtures differ greatly in output and heat. Keep the mount secure and allow access to switches without reaching through wet foliage. Electrical components should remain clear of water and be used only in the conditions for which they are intended. A practical shelf leaves a little open space around both the fixture and the pots. Do not rest an improvised lamp directly on leaves or cover a fitting in a way that traps heat, even if the arrangement seems visually tidy.
Match the illuminated area to the plants instead of spreading them evenly for appearance alone. The center of a fixture's coverage may differ from its edges, and a tall plant can shade shorter neighbors. Place species with similar needs together where possible and check the light reaching their growing points. A leaf at the top of a tall vine may be much closer to the fixture than the pot beneath it suggests. Rearrange supports or shelf heights before the foliage presses into the light. Keep enough room for young leaves to unfold. A setup that works for the current canopy should also allow the next stage of growth without repeated emergency moves.
Use a timer to create a repeatable schedule with a regular dark period. Consider both daylight and artificial light when planning total exposure. Common foliage plants often suit a moderate extended day, but the appropriate routine depends on the species and the light available from the window. Follow reliable guidance for the plant and avoid leaving the fixture on continuously in the hope of faster progress. Make changes gradually when a plant has been in a dim position. The timer should support consistent care, not remove observation. Check occasionally that the schedule still runs correctly after power interruptions or seasonal clock changes, particularly when the setup relies on a separate mechanical timer.
Watch the new growth and the exposed leaves after installing the light. Sensible stem spacing and normal leaf development suggest the arrangement is useful. Pale marks, dry patches, or excessive warmth near the fixture indicate that distance or exposure needs review. A plant continuing to stretch may need a better position within the coverage rather than simply longer hours. Compare photographs over several weeks instead of judging the lamp after a single day. Existing stretched stems will not become shorter, and old marks may remain. The useful evidence is how fresh growth develops under the revised conditions, together with the plant's moisture pattern and the temperature around its leaves.
Recheck watering because plants that resume growth under useful light may use water differently. The change does not automatically mean every pot needs more frequent watering. Feel the mix below the surface and compare the weight of manageable containers. Small pots near a warm fixture may dry sooner than larger pots farther away. Water thoroughly when appropriate and remove runoff before returning pots to a shelf with electrical equipment. Keep cables arranged so they do not become trapped beneath containers or exposed to repeated splashes. A well planned watering route makes the lighting setup easier to maintain and avoids turning every ordinary care session into a complicated exercise in moving the whole display.
Feeding should follow active growth, the contents of the potting mix, and the directions for a suitable product. Adding a lamp does not create an immediate need for a large fertilizer dose. First establish that the light is useful and the roots are functioning normally. Plants that remain slow can still be stable, especially during a seasonal pause. Avoid forcing all species to grow at the same pace. If one plant needs much brighter conditions than the others, a separate position may be more practical than extending the hours for the whole group. The lighting plan should serve the plants you have, with their differences visible rather than hidden beneath one uniform routine.
Keep a note of the fixture position, timer hours, and the plants beneath it. Include photographs of new growth so you can assess the setup later. As spring daylight increases, review whether the same artificial schedule is still appropriate and make adjustments gradually. Clean the fixture only as its instructions allow, keeping dust from accumulating where it reduces useful output or interferes with ventilation. The best winter lighting routine is one that remains safe, consistent, and easy to inspect. It provides the plant with useful light while leaving room for darkness, ordinary watering, and slow changes in growth, turning a dim seasonal position into a more workable environment.