A grow light can illuminate the top of a collection beautifully while leaving the smaller plants beneath it in deep shade. The arrangement matters as much as the fixture. Before adding more pots, look at where the light actually falls and which leaves intercept it. A tall rubber plant and a tray of new cuttings seldom belong at the same distance from a single lamp. Think of the growing area as a set of leaf surfaces at different heights. Bringing those surfaces into an appropriate range makes the setup easier to manage and avoids asking one lamp position to suit every plant on the shelf.
Read the fixture instructions before choosing a mounting distance. Different lights vary widely in output, beam shape, heat, and electrical requirements. A small decorative lamp and a high output growing fixture should not be positioned by the same rule. Start with the manufacturer's guidance for the plant type and observe the response after installation. Use secure fittings and keep cords away from watering areas. A timer can provide a repeatable daily period, including a regular dark interval. Continuous light is not automatically better, and increasing the duration cannot always compensate for light that is too weak at the leaves. Suitable intensity and a consistent day both matter.
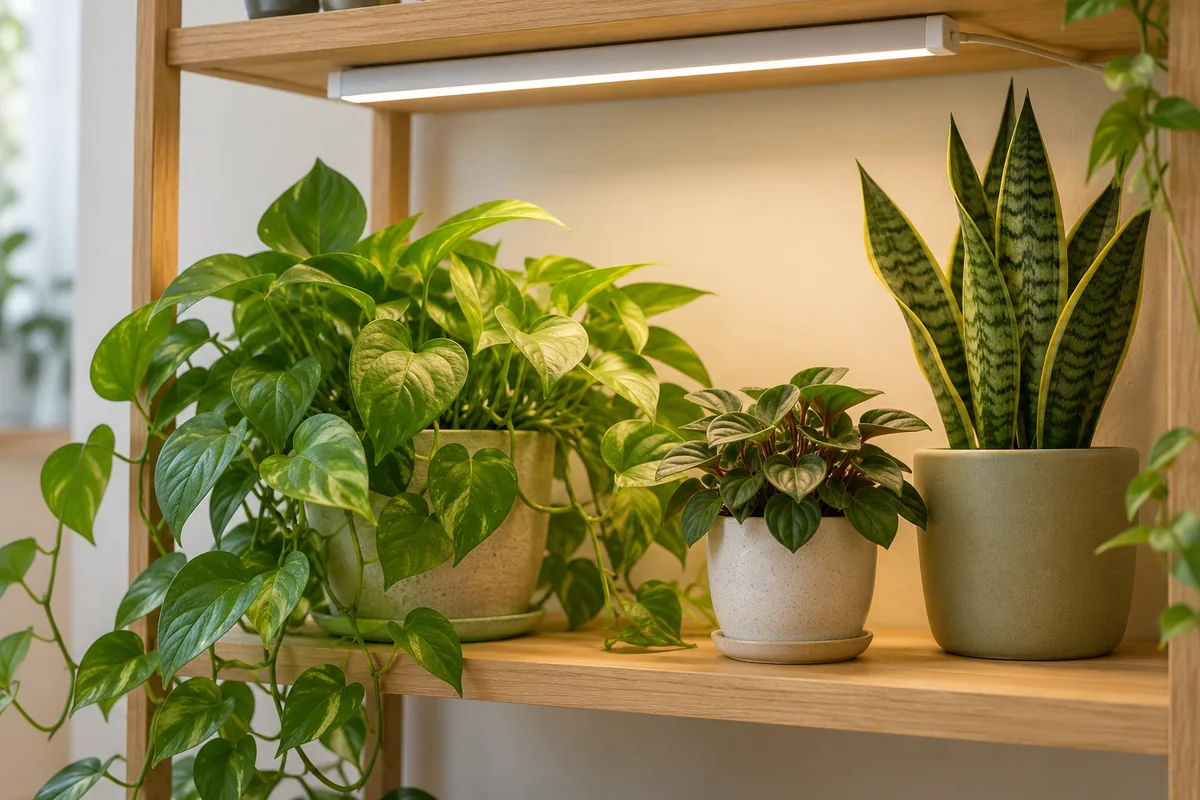
Group plants with roughly similar requirements. A shelf of tropical foliage plants needs a different arrangement from a collection of sun loving succulents. Give taller plants their own space or lower their containers so the upper leaves do not sit much closer to the lamp than the rest of the collection. Raise small pots on stable stands when appropriate, keeping every base secure. Do not stack loose objects beneath containers that will be lifted for watering. A simple level arrangement with open space between leaves is easier to maintain than a tightly packed display that hides the lower foliage and makes the back row difficult to inspect.
Check the edges of the illuminated area. Many fixtures deliver noticeably less light near their margins, especially when placed close to the plants. Turn the light on in its normal position and examine the whole shelf at leaf height. A meter can help compare positions if available, though readings need consistent technique and an understanding of the device. Without a meter, watch growth over time and avoid assuming that visible brightness is evenly distributed. Move plants within the arrangement deliberately rather than rotating them randomly every day. A fixed observation period makes it easier to see whether a particular position produces compact or stretched new growth.
Introduce the light gradually to plants accustomed to dimmer conditions. Begin with a conservative duration or the recommended greater distance, then adjust according to the fixture instructions and the foliage response. Pale patches, dry areas nearest the lamp, or leaves curling away from the strongest exposure deserve attention. Stretching and weak new stems can suggest insufficient useful light. Keep other factors in mind, including moisture and temperature, before changing the lighting again. Sudden large adjustments make the cause harder to identify. A photograph taken from the same angle each week can reveal changes in spacing between new leaves more clearly than checking the plant repeatedly throughout a single day.
Water use may increase after lighting improves because the plant can grow and use moisture more actively. Some fixtures also warm the growing area, though the amount varies. Inspect containers during the first few weeks instead of keeping the previous interval automatically. Small pots near a fixture can dry faster than larger ones at the edge. Empty saucers and prevent splashes from reaching electrical components. Avoid misting toward a lamp or power connection. Humidity and airflow should be managed separately from the light, with enough space around the collection for ordinary ventilation. The setup needs to remain practical on watering day as well as attractive when all the lamps are on.
Keep the light and the foliage clean in the manner appropriate for each. Dust on leaves reduces the light reaching their surfaces, and dust on a fixture can affect its performance. Disconnect equipment before maintenance and follow the manufacturer's cleaning instructions. Wipe broad smooth leaves gently with a damp soft cloth, supporting them from beneath, and avoid applying glossy coatings. Inspect mounting hardware occasionally, especially above a shelf that is moved or watered frequently. As plants gain height, revise the arrangement so new leaves remain at a suitable distance. The growing area is not a finished arrangement once the first timer has been set; it changes as the collection develops.
Use the plant's new growth as your longer term guide. A suitable arrangement should support a form appropriate to the species without forcing leaves against the fixture or leaving the lower shelf permanently shaded. Keep a record of the light period, approximate distance, and any significant moves so you can make one clear adjustment at a time. If the collection outgrows the illuminated area, reduce crowding or create a second growing zone. A well spaced group of plants receiving consistent light is easier to care for than a dense display with hidden compromises. The best arrangement is one you can inspect, water, and adjust comfortably throughout the year.