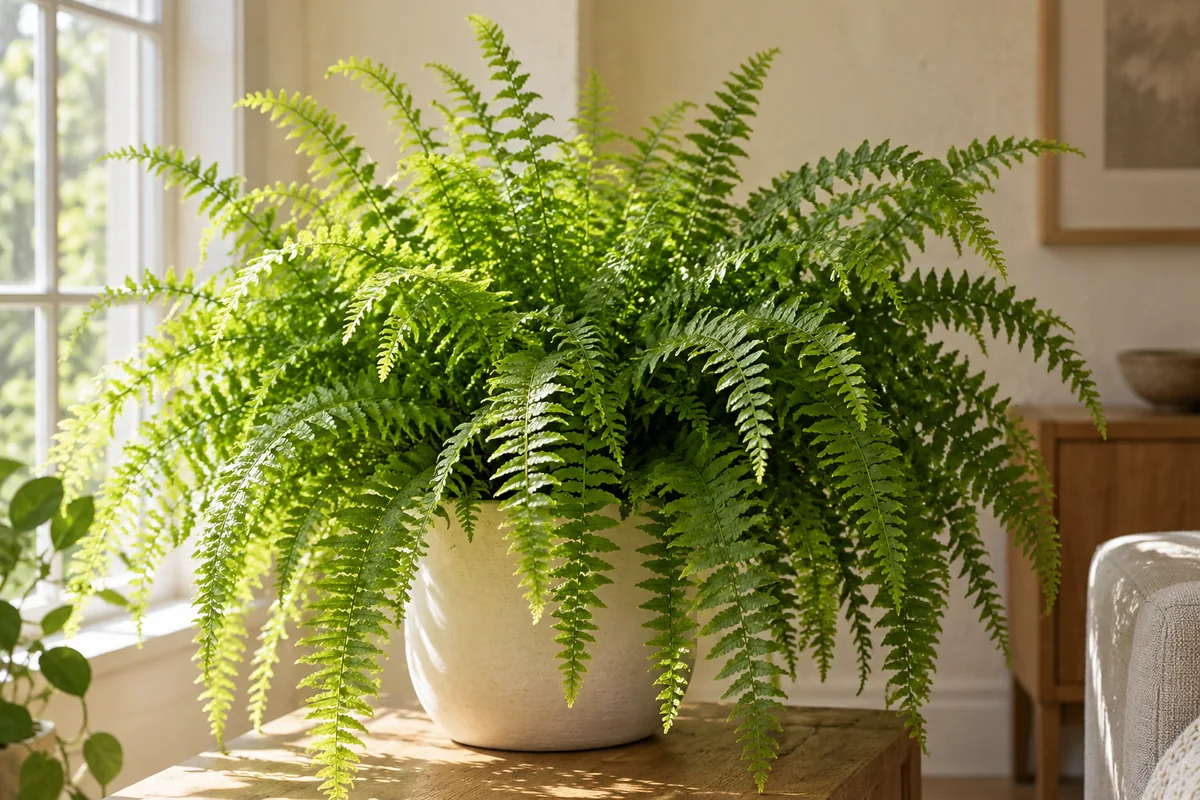
A Boston fern can conceal its pot beneath so many arching fronds that the root zone becomes difficult to inspect. The first clue to crowding may be a container that dries much faster than expected or water that runs down the sides without soaking the interior. Before choosing a bigger pot, part the foliage gently and look at the surface, rim, and drainage area. Dry leaflets alone do not prove that roots need more space; warm dry air and uneven watering can produce similar results. Repotting is useful when the root ball or worn growing medium justifies it, with the fern's need for consistent moisture kept in mind throughout the work.
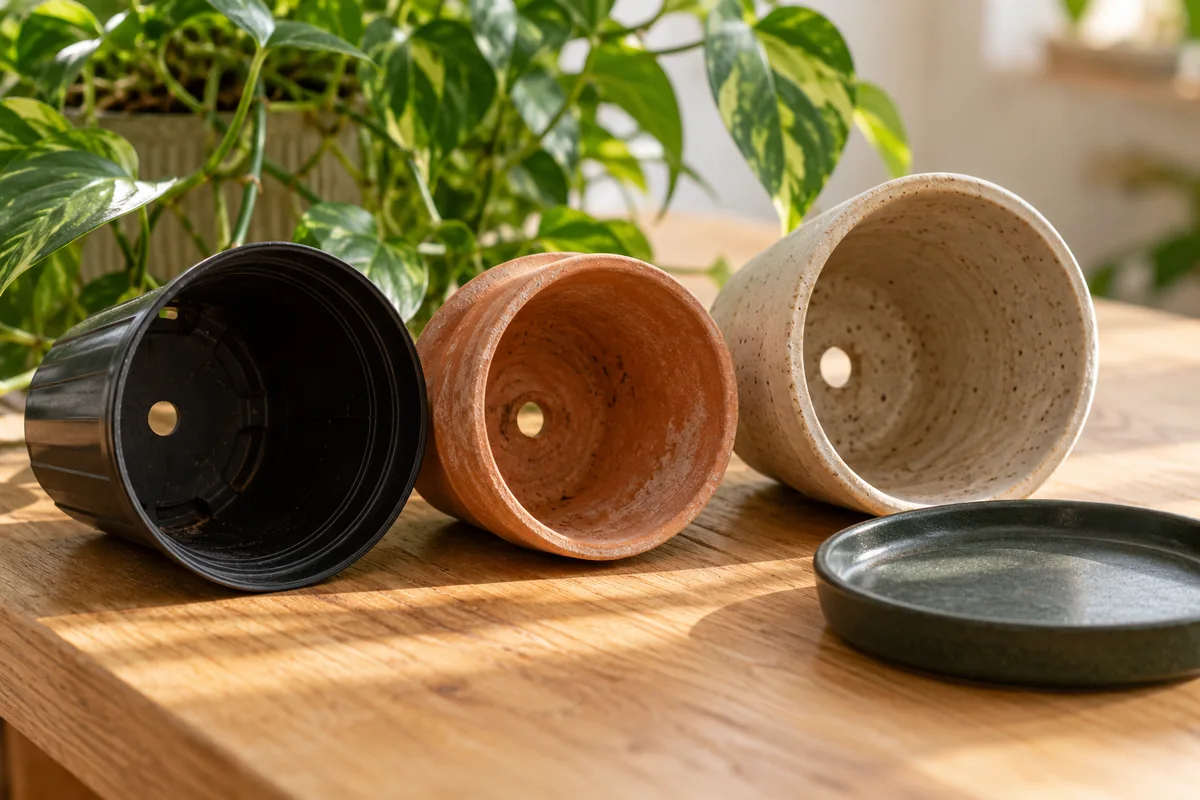
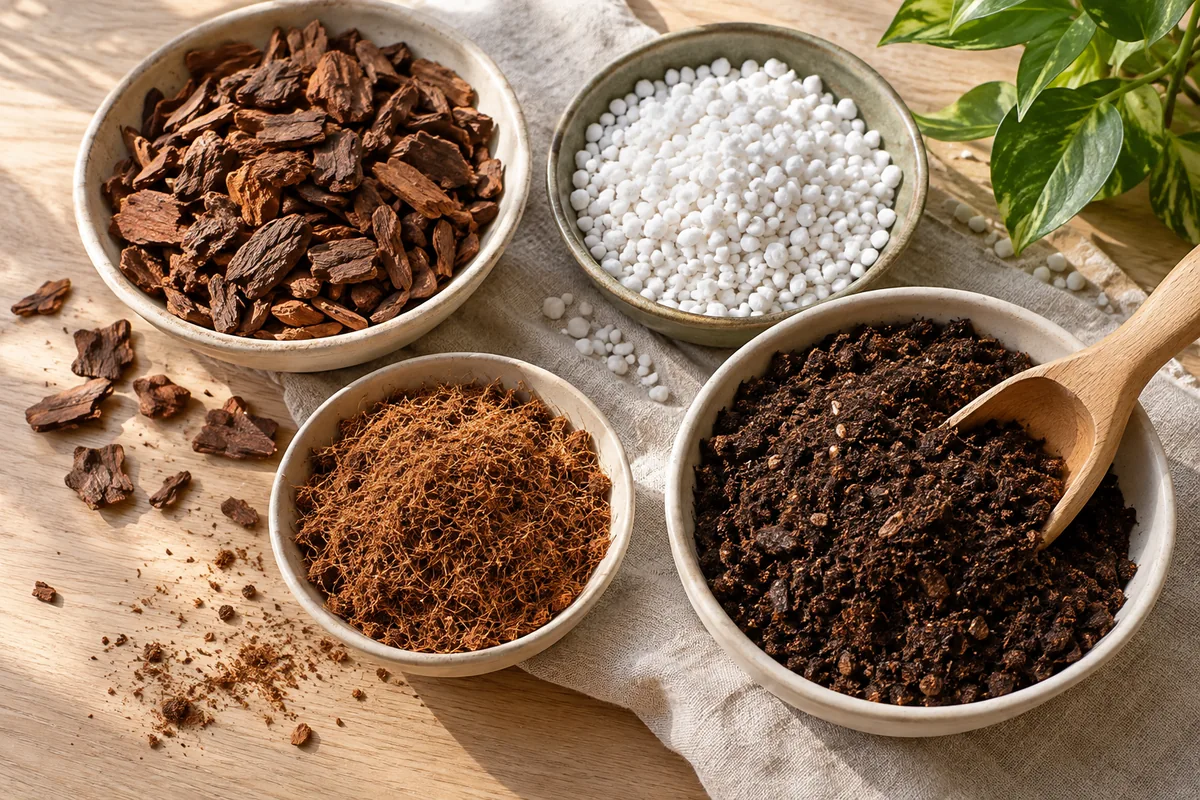
Prepare a suitable container with drainage and a moisture holding, well structured houseplant mix. A fern needs reliable moisture around its roots, yet a sealed pot of dense saturated material is not the same as an evenly moist root zone. Choose a modest increase in size if the existing roots are crowded. A very large hanging basket can hold more water than a newly moved fern uses, particularly in a cool indoor room. Check the strength of any hanger against the full wet weight of the container. If the fern will sit inside a decorative cover, make sure the inner pot can be lifted out without catching and tearing the fronds.
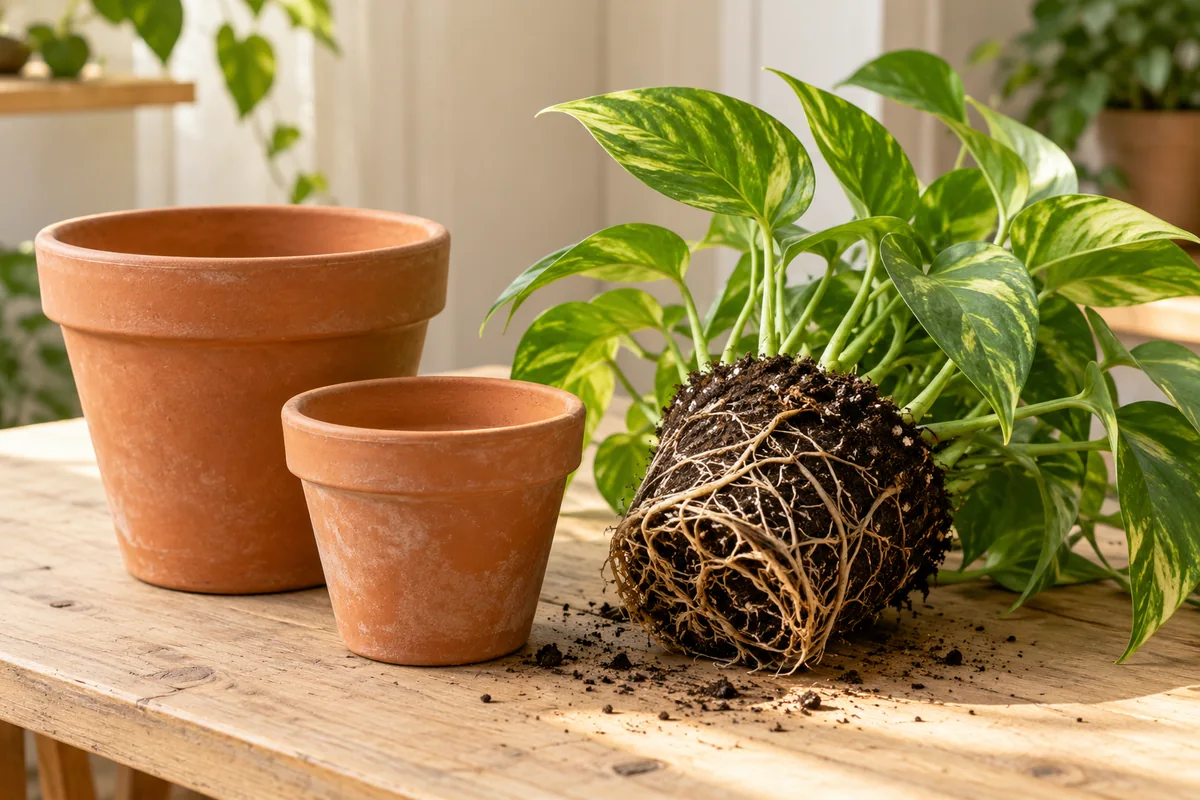
Work where loose leaflets and old mix can be collected easily. Support the foliage with one hand while easing the container away from the root ball. Do not lift the whole fern by a handful of fronds. Inspect the outer roots for dense circling growth and the condition of the mix between them. A firm mat of roots can be loosened gently around the edges. Remove old material that falls away readily without combing the entire root system apart. Keep the roots from drying on the table while you prepare the new pot. Optional division is possible for a suitable clump, but it need not be added to a straightforward repotting session.
Set the fern at the depth it previously occupied. The crown from which the fronds arise should not be covered by a thick new layer of growing mix. Place enough prepared medium beneath the root ball to bring the old surface below the rim, then fill the sides gradually. Use light pressure to settle material against the outer roots while preserving structure. Large gaps can interfere with even moisture, yet heavy compaction reduces useful air space. Turn the pot as you work so the fill is reasonably even. Leave a clear watering space beneath the rim rather than mounding the mix high into the lower fronds.
Water the repotted fern slowly and evenly so the old root ball and fresh surrounding material both become moist. Let surplus water drain fully and empty the saucer or outer cover. A root ball that had become very dry may repel the first application while water escapes through the new mix. Apply in stages and assess the center rather than assuming that runoff proves complete wetting. Avoid leaving the pot submerged for a long period without inspection. Once the mix is evenly moistened, the useful pattern is gradual moisture use with replenishment before the fern becomes excessively dry, not a cycle of saturation followed by severe drying.
Return the fern to suitable bright indirect light and protect it from sudden strong sun. Keep it away from direct warm airflow and cold glass. Room humidity deserves attention separately from watering: soaking the roots more often does not reliably correct dry air around the fronds. Misting changes surrounding humidity only briefly, and a crowded damp cluster can reduce airflow without providing a stable room environment. If a humidifier is used, monitor the room and follow its cleaning instructions. Leave enough space around the fern to inspect its crown and remove fallen leaflets. A stable position makes it easier to judge the new container's drying behavior.
The fresh mix may retain moisture longer than the depleted root filled material it replaced. Check it regularly rather than maintaining the old watering interval without inspection. The upper surface can dry while lower areas remain moist, so combine a careful touch with the pot's changing weight. Do not interpret every dry old leaflet as a request for more water. Fronds damaged before the repot will not become intact again. Trim clearly dead material as needed and evaluate the new fronds that emerge afterward. Delay additional feeding while the roots settle, checking whether the new mix already includes a nutrient supply and resuming ordinary care when growth is steady.
Over the following weeks, look for firm new fronds and a more manageable watering pattern. Keep the crown visible and the drainage path open, and resist taking the fern out repeatedly to inspect its roots. If water continues to bypass the center, reassess the old root ball's condition during normal care. If the container stays wet unusually long, review size, light, and room temperature before adding another watering. A successful repot gives the fern fresh usable space while preserving consistent moisture around the existing roots. Thoughtful crown placement, gentle handling, and steady conditions matter more than a dramatic increase in container size or a complicated recovery routine.