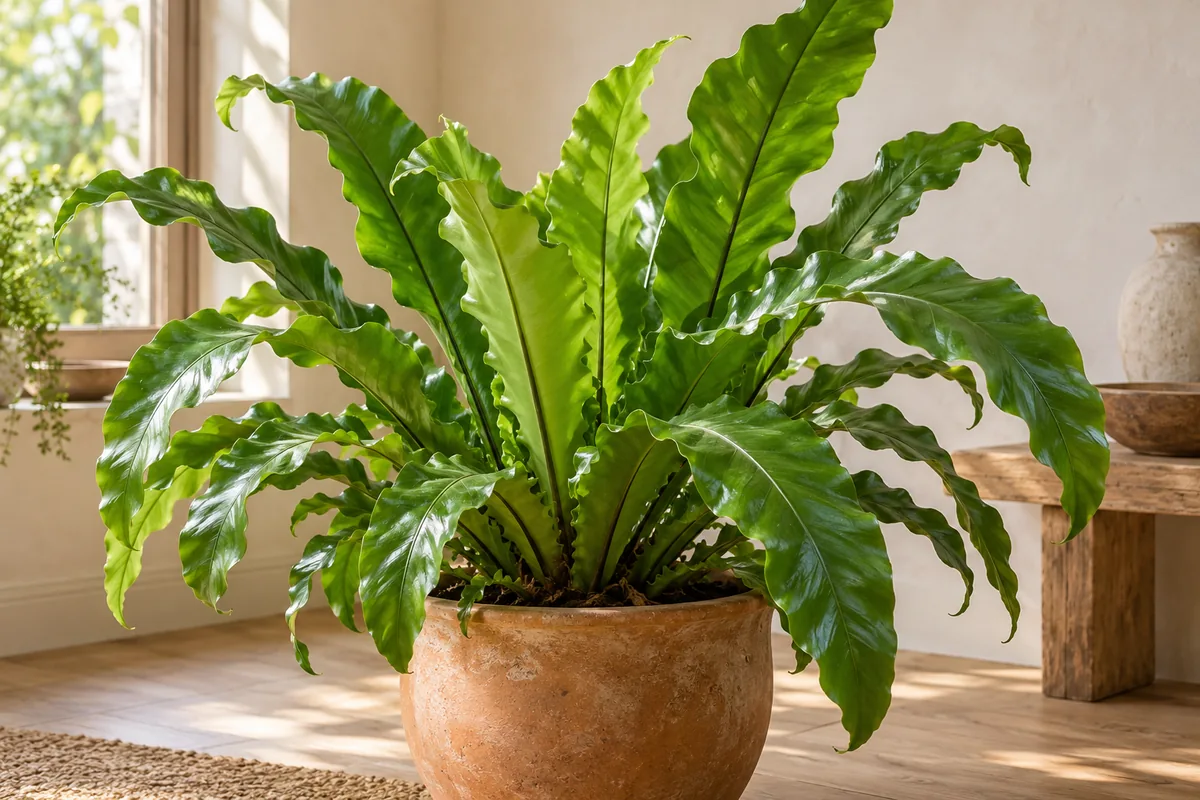
The brown lines on the back of a mature bird nest fern frond can be the beginning of a new propagation project. They are spore bearing structures, not seeds and not ordinary marks to wipe away. Growing this fern from spores is a slow process with a stage that looks little like a fern at all. It is worth understanding that sequence before cutting a leaf or opening a pot. A single frond placed in water will not behave like a pothos cutting. The familiar rosette of Asplenium nidus usually offers one central growing point, making casual division of a small specimen an unsuitable shortcut.
Start by confirming that the plant is a bird nest fern and that the structures beneath its fronds are mature. Young pale lines may not yet release useful spores, while old empty structures may offer little material. A mature fertile frond can be placed over clean paper in a dry sheltered spot to collect the fine powder it releases. Avoid taking several fronds from a small plant just to obtain more spores. Keep the collection labeled and free from drafts that can scatter it across the work surface. Spore powder is extremely fine, so handle the paper carefully and avoid brushing dust or loose potting material into the collection.
Use a clean shallow container that can hold a clear lid and has a practical way to manage moisture. Spore propagation is easily overtaken by unwanted growth, so cleanliness matters from the container through the medium. Choose a fine, suitable propagation material with a smooth surface and prepare it according to reliable horticultural guidance for fern spores. Very coarse bark is difficult for tiny early growth to occupy. Moisten the medium evenly and allow unnecessary water to drain before sowing. The surface should remain damp without floating. Keep the setup small enough to inspect through the lid without repeatedly opening a large tray that is difficult to protect.
Scatter a very thin layer of spores over the prepared surface. More is not automatically better, since overcrowded growth becomes harder to separate later. Do not bury the spores beneath a layer of ordinary potting mix. Close the container and label it with the plant name and sowing date. Place it in gentle indirect light with steady warmth, avoiding any direct sun that could overheat a covered container. The lid helps maintain surface moisture around material too small to tolerate drying. A position where you can inspect the tray without moving it repeatedly makes the waiting period easier and reduces the temptation to poke the surface for signs of roots.
The early growth may appear as a thin green film, followed by tiny structures called prothalli. This is part of the fern life cycle, not a miniature version of the final rosette. Fertilization occurs at this stage under suitable moist conditions before the familiar young fern develops. The process can take a long time and does not follow the same pace as a stem cutting. Observe without assuming that every green patch is the desired growth. Algae and moss can also occupy a moist tray. If the surface becomes crowded with unfamiliar material, seek a reliable fern propagation reference rather than applying an improvised treatment to tiny plants you cannot yet distinguish.
Maintain consistent surface moisture and gentle light. If water is needed, add it carefully at the edge or by a method that does not dislodge the delicate growth. Avoid a strong stream from above. Persistent puddles are unnecessary, and a container that dries out completely may lose much of its progress. Check the lid for excessive condensation and the surface for unwanted growth while keeping disturbance to a minimum. A transparent cover should never be left in a hot sunny window. This project rewards patient observation over frequent interventions. A written record of changes is useful because the first visible stages can be subtle and easy to misremember across several weeks.
Only once small recognizable fern leaves have developed should you consider moving young plants. Tiny groups can be lifted with a clean fine tool and placed on fresh prepared medium, keeping their roots and surrounding material together as much as possible. Do not grasp the growing center between your fingers. Continue providing a moist sheltered environment while gradually introducing more ventilation as the young ferns become larger. They are not ready for the drying pattern or exposed conditions tolerated by a mature potted fern. Separate crowded groups in stages rather than trying to place every tiny plant into its own full sized container immediately after it becomes visible.
A bird nest fern raised from spores will take considerable time to form the broad rosette seen in a mature specimen. Keep expectations focused on steady development rather than rapid multiplication. Labeling and observation help distinguish real progress from a setup that has stalled or become overgrown by other material. If you mainly want another decorative fern soon, obtaining an established young plant is a more predictable route. Spore propagation suits someone interested in the life cycle and willing to maintain a small careful setup for an extended period. Preserve the original plant throughout the project so its established growth remains the reference point while the young ferns develop.