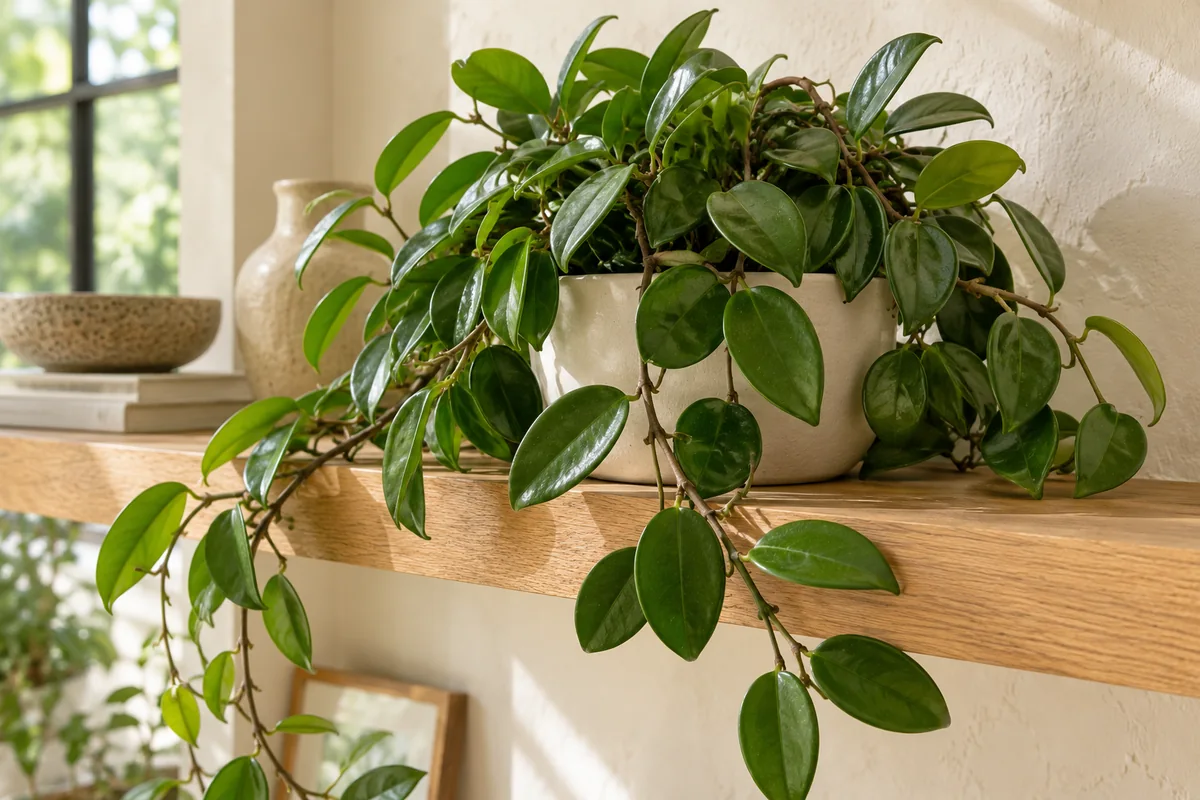
The easiest hoya cutting to work with is usually an ordinary piece of vine with firm leaves and a clearly visible node. It does not need to be the longest or most decorative section on the plant. A modest cutting is easier to support, easier to inspect, and less demanding while it grows its first roots. This guide suits common vining hoyas such as Hoya carnosa. Species with unusually fine leaves or particular growing requirements may need a different approach. Take time to identify the plant before cutting, and choose a period of active growth so the new piece starts with favorable light and warmth.
Find the places where leaves meet the vine. These nodes are important because they contain growing points and are common sites for new roots. A single detached hoya leaf may remain attractive and can sometimes form roots, yet it may never produce a new vine if it lacks the necessary stem tissue and growing point. Choose a section with at least one sound node and preferably another above it, keeping a small set of leaves. Avoid taking a flowering spur if you can preserve it on the original plant. Those short structures can flower again, and they are different from expendable stretches of ordinary leafy stem.
Use a clean sharp blade to cut below the lowest selected node. Remove a lower leaf only if it would otherwise sit underwater or be buried in the rooting medium. Keep the remaining leaves intact and avoid scraping the whole stem. If sap appears, protect your skin and the work surface and allow the cut surface to stop dripping before arranging the cutting. Label the piece immediately when working with more than one hoya. Similar vines are surprisingly difficult to distinguish once separated. Check that the stem is firm along its length, since a soft section makes a poor starting point even when its leaves still look acceptable.
For water propagation, use a clean narrow vessel that holds the lower node underwater while keeping the leaves above the surface. A small support across the opening can prevent a short cutting from slipping. Fresh water and a clean vessel matter more than a decorative bottle. Replace the water whenever it becomes cloudy and refresh it regularly even when it looks clear. For propagation in a medium, use a small pot with drainage and a loose, lightly moistened mixture such as fine bark and perlite with a little suitable potting material. Press the stem in gently without burying a large amount of vine in wet material.
Place the cutting in bright indirect light where the temperature remains steady. A hot window can warm a small jar or covered pot rapidly, so examine the actual position at the warmest part of the day. A clear cover may reduce moisture loss around a potted cutting, but it should not press against the leaves or remain sealed in direct sun. Open it periodically to exchange air and check the stem. Thick hoya leaves can retain their shape for some time before roots form. Their appearance alone does not prove that rooting has happened, and repeated pulling to check resistance can tear the earliest roots away.
Keep the rooting medium slightly moist with air spaces still present. A large pot of dense material is difficult to manage because the cutting removes very little water. In a water vessel, look for firm pale roots extending from the stem rather than merely a swollen callus at the cut end. Some cuttings begin quickly and others wait for several weeks. Long intervals with no visible change are possible when light is limited. A collapsing node, dark spreading softness, or a sour smell is a reason to remove the cutting and inspect it. Do not try to solve decay by adding fertilizer or making the setup wetter.
Move a water rooted cutting into a small draining pot once it has several roots with some branching and enough length to anchor it gently. Handle the roots by supporting the stem rather than pinching their tips. Position the node near the surface of an airy mix and settle material around the roots without compressing it into a solid plug. Water through once and let all excess drain. The first weeks in potting mix need attentive moisture checks because roots are adjusting to a different environment. Avoid letting the new pot become completely dry immediately after transfer, and avoid keeping it continually saturated in an effort to imitate the jar.
A new shoot from a node is the clearest sign that the cutting is beginning life as a growing plant. Give the young vine a simple support or allow it to trail according to its natural habit. Increase light gradually if its eventual position is brighter, and introduce feeding only after establishment and in accordance with the product directions. Do not repot again simply because the first leaf appears. A small root system benefits from a manageable volume of mix. Keep a note of the parent plant, cutting date, rooting method, and first new growth. Those details will tell you more about the next propagation attempt than a rigid promise about rooting speed.