The moment after a stem is cut is an inconvenient time to discover that the scissors are blunt or the only clean pot is somewhere else. A short preparation routine makes propagation easier to carry through without leaving cuttings on a dry table while you search for supplies. Start with the plant and the method you intend to use, then choose tools that suit the stem. Fine soft growth needs a different cutting action from a thick woody branch. Clean equipment also reduces the chance of carrying unwanted material between plants. The aim is a clear usable workspace, not an elaborate collection of specialist objects that complicates a simple task.
Inspect the blade before you begin. Dried sap, soil, and bits of old stem can remain around the hinge or along a cutting edge after earlier work. Remove this visible material first, using suitable cleaning methods for the tool and drying it afterward. A disinfectant cannot work as intended through a thick coating of debris. If a blade is damaged, loose, or crushing stems instead of cutting them, repair or replace it before propagation. Small scissors may suit thin trailing vines, while clean pruners can be more appropriate for firmer material. Avoid using the same implement for every plant just because it happens to be closest to the pot.
Where disinfection is appropriate, use a product and method intended for gardening tools and follow its directions, including any contact time and rinsing requirements. Do not mix cleaning chemicals or assume that a quick splash has completed the process. Some products can corrode metal or leave residues, so compatibility matters. Handle sharp edges carefully throughout cleaning, and keep liquids away from electrical equipment used nearby. Place prepared tools on a clean tray rather than returning them to a pile of used pots. If you are uncertain how a particular finish or blade should be treated, consult the manufacturer guidance before improvising a harsh treatment that could damage it.
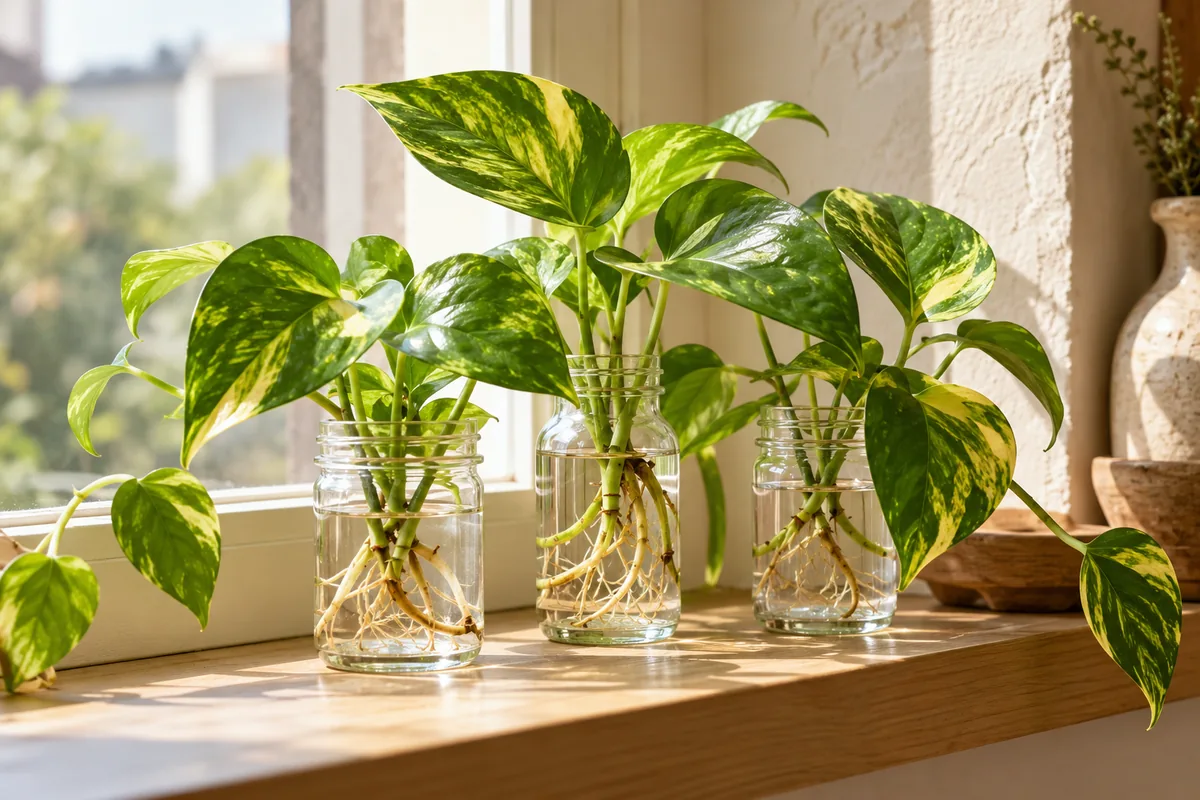
Prepare containers with the same attention. Wash away old mix and residue from pots or jars, check that drainage holes are clear, and use clean growing material suitable for the chosen propagation method. A bottle with a narrow decorative neck can be difficult to clean and may trap roots later, so choose vessels for access as well as appearance. Keep new rooting medium separate from the old mix removed from plants. Do not tip unused material back into its original bag after it has been spread across a dirty work surface. Modest portions are easier to keep clean and reduce waste when you are preparing only a few cuttings.
Set the work area up so clean and used items remain distinct. A tray for fresh cuttings, a place for discarded leaves, and labels within reach prevent confusion once several stems are on the table. Put the plant names and dates on labels before your hands are covered in mix. Keep a clean cloth or suitable protective material nearby for sap, and wear gloves when the plant requires careful handling. Never leave a blade loose beneath foliage where it becomes hard to see. Good preparation also means knowing which parts of the plant you plan to retain, so you do not repeatedly recut material while trying to decide its final size.
Between plants, remove fresh sap and debris and repeat the appropriate cleaning routine when there is a risk of transferring unwanted material. Working from apparently sound specimens toward any plant needing investigation helps keep the process organized. A plant with unexplained soft stems or unusual markings deserves separate attention rather than immediate propagation alongside the rest of the collection. Keep its tools and discarded material apart until you understand the issue. Cleaning does not turn unsuitable cutting material into a useful plant. The condition of the parent, the maturity of the stem, and the presence of viable growing points remain central to whether the propagation makes sense at all.
Once the cuttings are prepared, move them promptly into the rooting setup appropriate for the species. Some succulent pieces require their cut surfaces to dry, while many soft leafy cuttings should not be left exposed for long. That difference is another reason to decide the method before cutting. Keep completed pots labeled and arrange them where light and temperature suit the plant. Wipe the work surface and collect discarded material so it does not dry around hinges or jar rims. Check that every tool has been accounted for before folding a protective sheet or emptying a tray. A calm finish makes the next propagation session easier to start.
Dry tools thoroughly before storage and maintain hinges or blades according to the manufacturer instructions. Store them where the cutting edges are protected and visible. Keep a note when a blade needs sharpening rather than discovering the same problem during the next session. You do not need to prepare a large batch of cuttings to justify this routine. Even one stem benefits from a clean cut, a suitable pot, and a label that identifies what happened. Over time, a simple repeatable setup removes many small sources of confusion, letting you focus on the plant material and the growing conditions that will determine how well the cutting establishes.