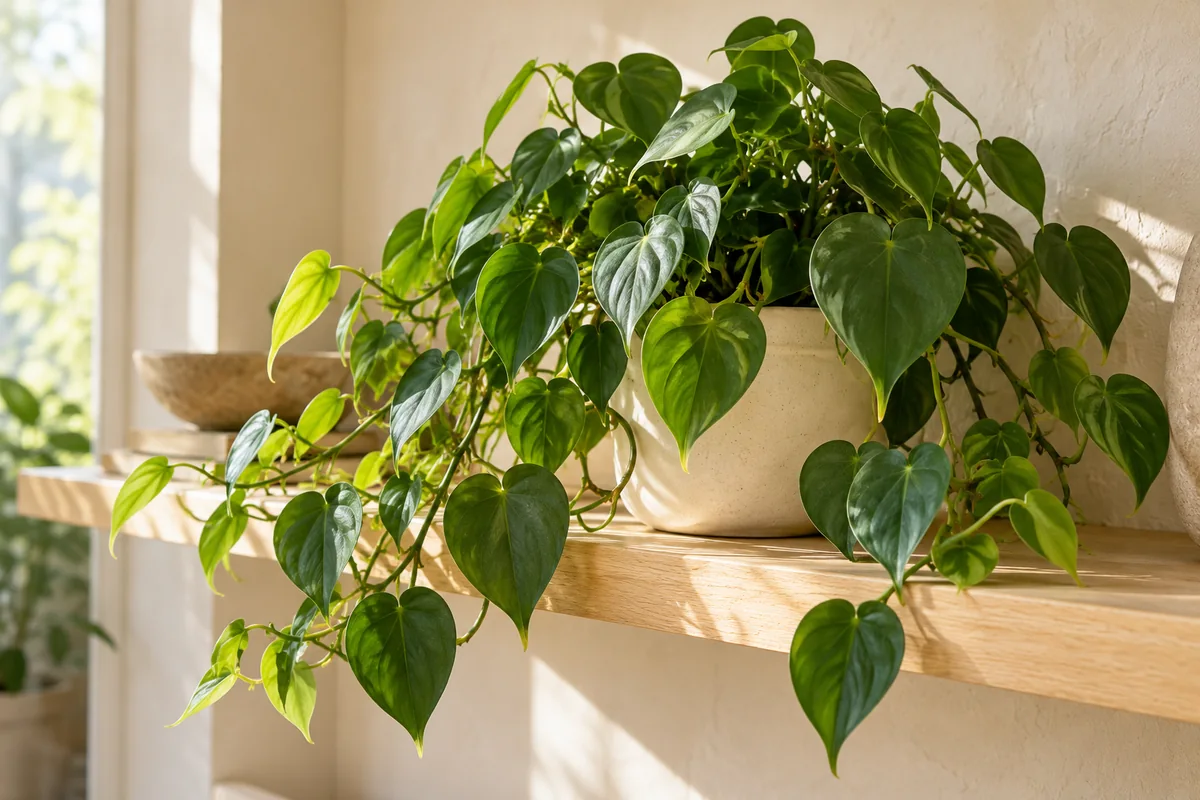
A trailing heartleaf philodendron often has a few vines that reach farther than the rest. Those sections can provide useful cuttings when the plant is growing steadily and you want to keep its shape manageable. The important detail is the stem node where a leaf and potential new growth meet the vine. A leaf stalk on its own does not serve the same purpose. Follow the chosen stem before cutting and notice the spacing between its leaves. A short section with suitable nodes is easier to root and pot than a long vine whose foliage makes the base unstable in a small jar or tray.
Choose firm growth without unexplained spots or soft areas. Use clean sharp scissors and make a neat cut that preserves the selected node. A cutting with a modest amount of foliage is practical because it has less leaf area to support before roots develop. Remove any lower leaf that would sit beneath water or mix, taking care not to damage the node itself. Keep the prepared cutting away from food surfaces and handle the cut material with appropriate care. Plan the rooting method first so the cutting can move directly into its new environment rather than drying while you look for a container and assemble the remaining supplies.
Water rooting allows easy observation. Use a clean vessel that holds the node in water with the leaves above the surface. Choose an opening wide enough to remove a small branching root system later. A narrow bottle can look elegant but make transplanting awkward if roots become entangled inside it. Keep the container stable and place it in bright filtered light. Avoid direct strong sun, which can heat the water and expose foliage to a sudden increase in intensity. Maintain the water level and refresh it as needed for cleanliness. There is no need to add concentrated feed to the initial rooting water, and more additives can make a simple setup harder to interpret.
Direct rooting in a suitable medium is also practical. Use a small drained pot and lightly moistened material that provides close contact while retaining air spaces. Make an opening before placing the cutting, position the node appropriately, and keep the leaves above the medium. Settle gently around the stem. Do not pack the whole pot tightly to keep a leaning cutting upright; a small temporary support can provide stability without compressing the root environment. Moisture should remain even during rooting without a reservoir of standing water beneath an ordinary container. Check the medium rather than automatically topping it up every day because the cutting has not yet produced a visible leaf.
A steady environment makes progress easier to judge. Keep the cutting away from heating vents, cold glass, and strong fan airflow. Useful indirect light supports growth while avoiding the abrupt exposure of a sunny sill. If a cover is used in a particular propagation setup, inspect it and provide appropriate ventilation instead of accepting constant dripping condensation. The cutting should not remain pressed against wet plastic. Some leaf movement or a period without new growth is possible while roots form. Watch the firmness of the stem and the gradual development of roots rather than making frequent changes in response to a single day's appearance.
Timing varies with the material and conditions. Warm suitable rooms and active parent growth often provide a more straightforward start than a cold dim position during a slow period. A new shoot may begin before a large root network has developed because the cutting uses stored reserves. Treat that shoot as one sign of progress, not a reason to move immediately into a much larger pot. Avoid tugging cuttings rooted in medium to test resistance. A gentle look at the pot edge or later change in water use can be informative without breaking new roots. For water rooted cuttings, observe through the vessel and handle as little as practical.
When the water rooted cutting has a usable small root network, prepare a proportionate first pot. Use a suitable houseplant mix with enough contact around young roots and a container with drainage. Place the roots into a prepared opening, avoiding sharp folds, then fill gently. Water to settle the medium and let surplus leave completely. Keep moisture even during the transition while watching the actual condition of the mix. A young plant in a small pot can dry quickly, yet a pot much larger than the roots can remain wet unnecessarily. The first weeks are easier when the container offers a manageable amount of space and the foliage receives stable light.
Once established, let the philodendron grow into its container before enlarging it. A fuller pot can be created with several rooted cuttings when their combined root systems suit the volume, rather than filling a large planter with mostly unrooted pieces. Keep each stem base accessible enough to inspect. Resume an appropriate feeding routine only after the roots settle, considering nutrients already present in the mix. New trailing growth can be guided or trimmed gradually as the plant develops. The process is straightforward when each stage follows the structures actually present: a viable node, a developing root network, and then a small root zone that can be watered predictably as the new plant begins to grow.