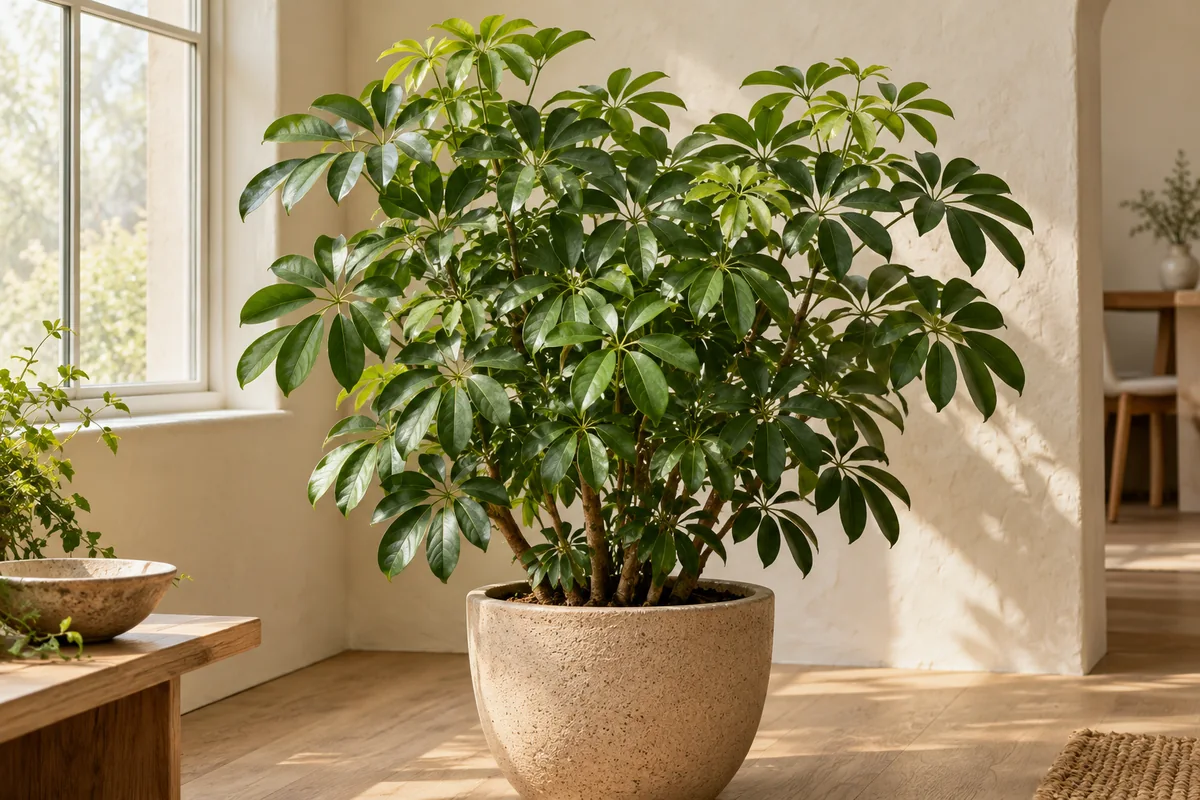
The familiar umbrella shape belongs to a leaf, not an entire miniature branch. That distinction matters when you want a new plant. A detached umbrella of leaflets may stay green for a while, yet a useful propagation cutting needs a section of actual stem with nodes and a growing point. The dwarf umbrella plant is commonly labeled Schefflera arboricola and is now also listed as Heptapleurum arboricola. Check which plant you have, since larger umbrella trees and related species do not all behave identically. For an ordinary indoor dwarf umbrella plant, a modest stem cutting taken during active growth is a practical place to begin.
Choose a side shoot with firm recent growth that has begun to mature. A very soft tip loses moisture quickly, while a thick old trunk is unnecessarily difficult for a first attempt. The piece should carry several nodes and a small upper canopy. Trace the leaf stalks back to the main shoot to identify those nodes correctly. Plan the cut so the parent plant retains enough foliage and an acceptable shape. Use a clean sharp blade or suitable pruners that make the cut without flattening the stem. Wear gloves when handling sap, and keep loose plant material away from places where it could be handled unintentionally.
Remove lower leaves where the stem will enter the rooting medium, leaving a modest amount of foliage near the top. Large umbrella leaves can make a short cutting unstable, so choose the stem section with that weight in mind. Do not strip it down to a bare stick unless a reliable method for that particular material calls for it. A cutting needs leaf area to continue its basic growth processes. If you use a rooting product, select one labeled for the purpose and follow its directions rather than dipping the whole stem repeatedly. Keep the original container clean by putting a small working amount in a separate vessel.
Prepare a small draining pot with a lightly moistened propagation mix that contains open air spaces. Fine bark, perlite, and appropriate fresh potting material can be combined to produce a supportive medium. Avoid a large volume of dense garden soil around a single unrooted cutting. Make a planting hole before insertion and place the lower nodes within the medium while keeping all retained leaves above it. Close the mix gently around the stem. A slim support can prevent movement without pressing tightly against the tissue. Label the pot with the plant name and date, especially when several cuttings are being prepared during the same session.
Place the pot in bright indirect light where temperatures remain even. A clear cover can slow moisture loss from the leaves, provided it stays away from direct sun and does not rest on the foliage. Open it regularly to inspect the stem and exchange the air. Water the mix when it is approaching a lightly moist state rather than allowing it to stay waterlogged. A cutting may wilt from a damaged stem or excessive wetness as well as from dryness, so check the actual medium before adding water. A stable position is more useful than moving the pot between windows every time the leaves change angle.
Rooting may take several weeks and can be slow in cool or dim conditions. The old leaves may remain unchanged while roots begin out of sight. Do not pull the cutting up repeatedly to look for progress. New buds, unfolding leaves, and gradually increasing resistance to very gentle movement can indicate development, though roots emerging at drainage holes provide clearer evidence. A yellowing lower leaf is worth watching without immediately dismantling the entire setup. Softness traveling up the stem, a dark wet base, or an unpleasant smell calls for closer inspection. Remove failed pieces promptly when several cuttings share a container so their remains do not sit against sound stems.
Once the cutting has rooted and is making steady new growth, gradually increase ventilation if it has been under a cover. Remove the cover for longer periods over several days, checking whether the leaves remain firm. Keep the young plant in its small pot until the roots have made useful contact with the available mix. Moving too soon into a wide decorative pot leaves a large wet area beyond the new roots. When repotting becomes necessary, choose only a modest increase in size and preserve the young root ball. Set the plant at its previous depth and water to settle the surrounding mix, allowing excess water to drain away.
Shape comes later, after the new plant can support additional branching. Let it produce several leaves before considering a tip trim, and avoid combining pruning, repotting, and a major change in light during the same week. A rooted cutting will not instantly resemble a mature nursery specimen. Its first job is to build roots and a stable framework. Check the parent plant too, since pruning can change its water use and encourage buds below the cut. Record the position and maturity of the stem you selected. That practical detail helps you choose better material next time, especially if one cutting roots readily while another remains inactive.